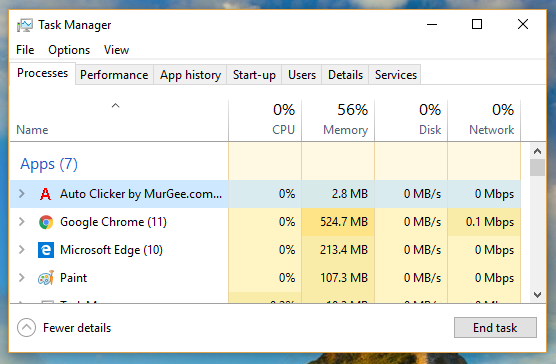
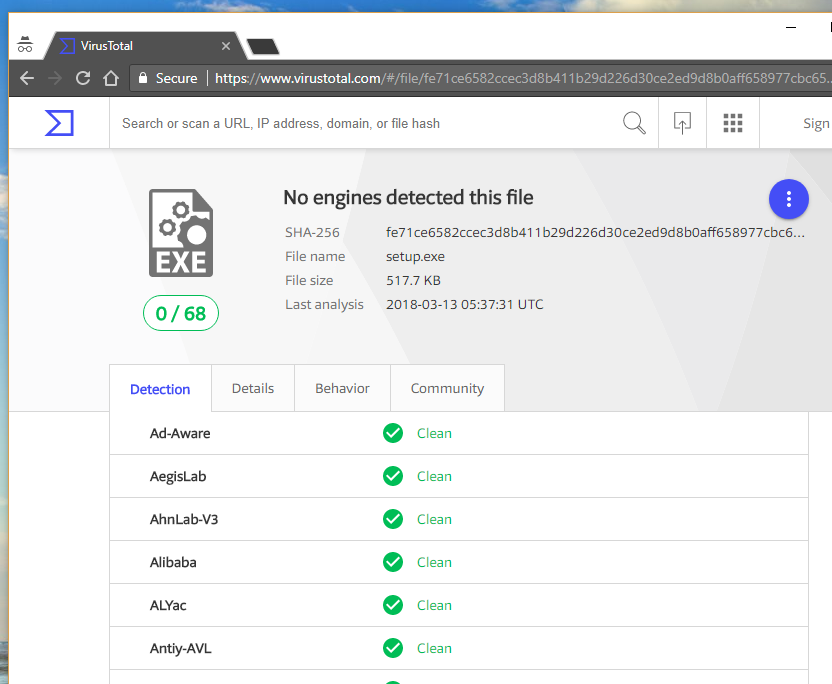
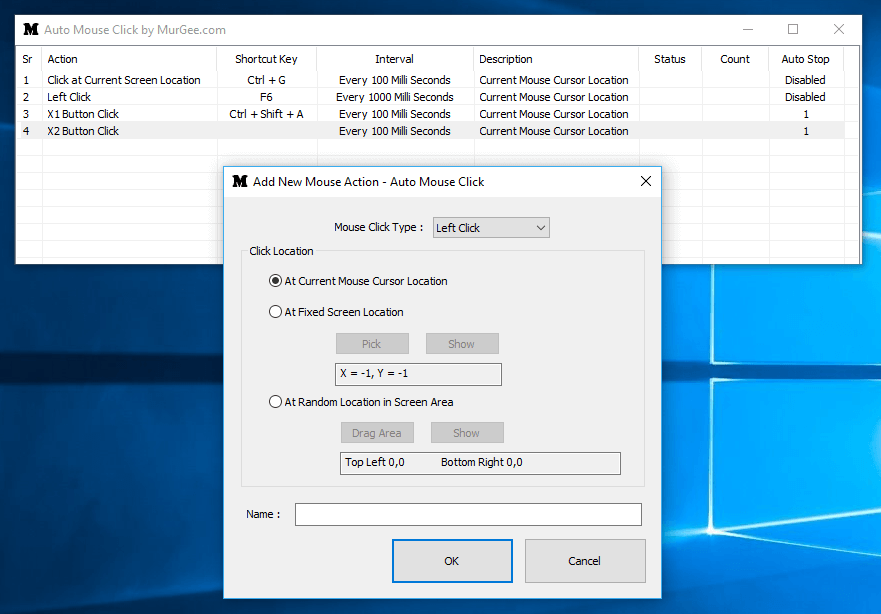
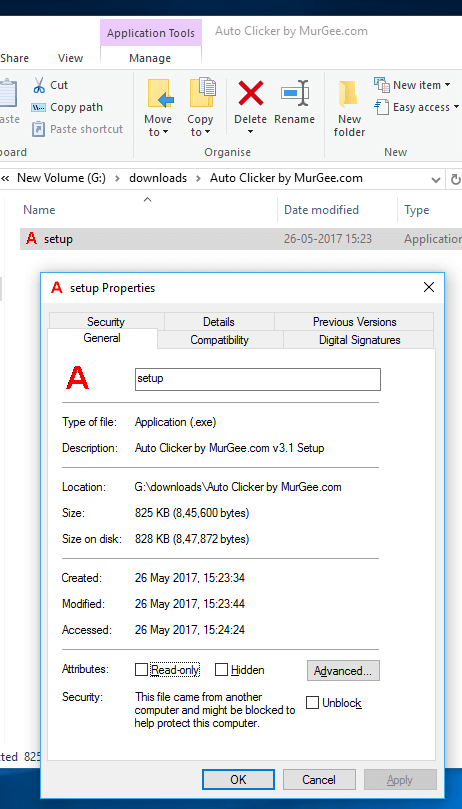
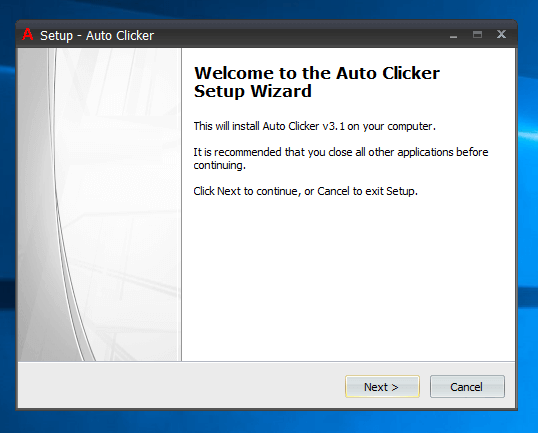
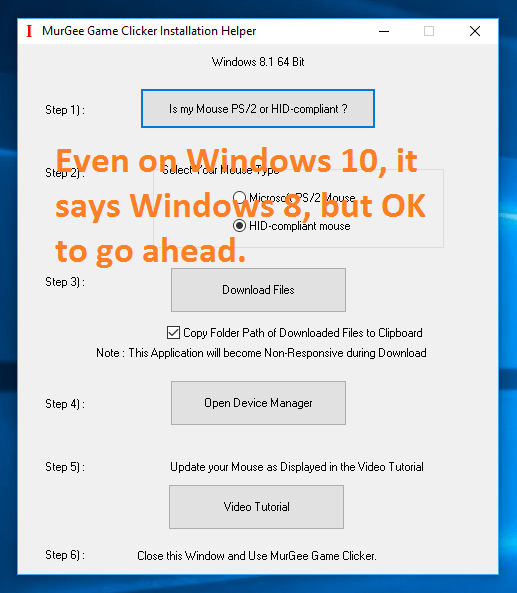
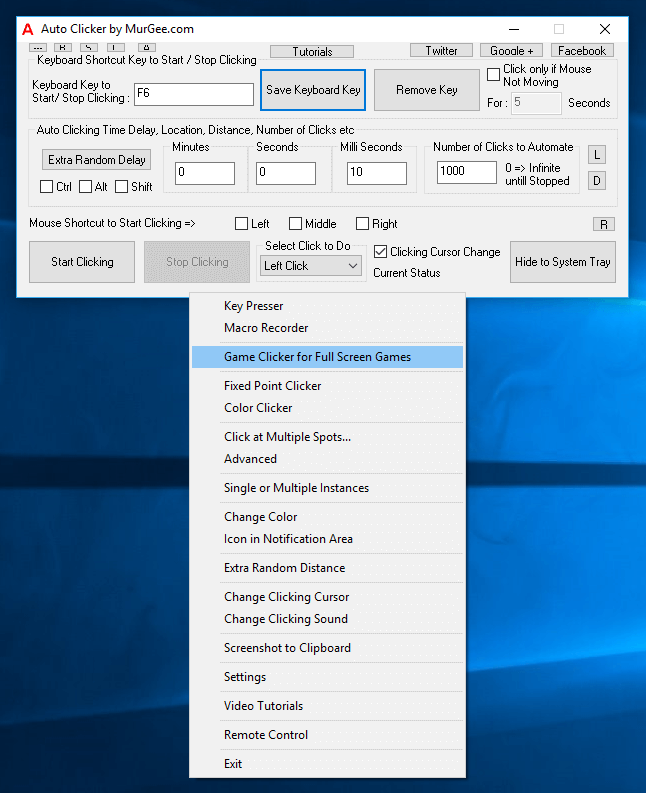
Using Auto Clicker is really simple and easy to learn. This post provides step by step procedure and provides information on how you can use Auto Clicker on your Windows Computer. The Auto Clicker is provided on a free to download and try basis and all the features of Auto Clicker are fully functional. The Steps to use Auto Clicker have been captured on a Windows 10 Computer, however for other Microsoft Windows Operating Systems, the usage of Auto Clicker remains the same.
How to use Auto Clicker
- Download and Install Auto Clicker on your Windows Computer. Note that you would need to have Administrator Access to your Windows Computer to install Auto Clicker.
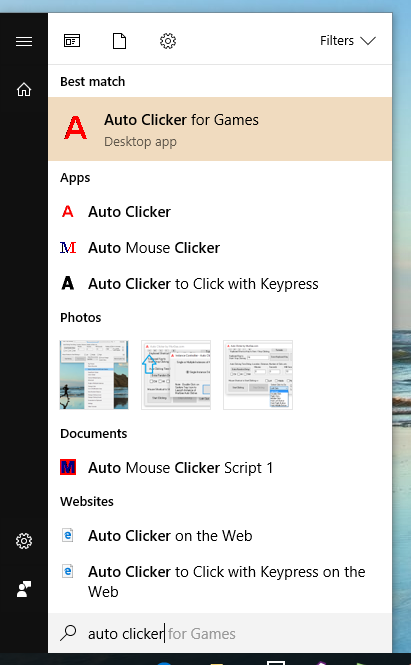
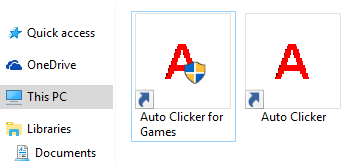
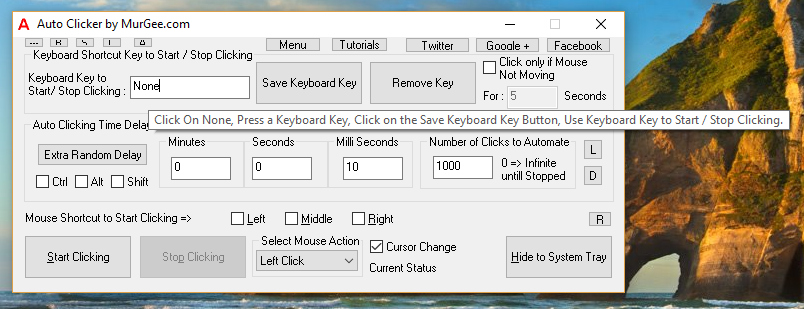
- Launch Auto Clicker from Shortcut in Programs Menu or from Desktop Shortcut Icon of Auto Clicker. When running Auto Clicker, you do not need to have Administrator Access, however the Auto Clicker can be used to Auto Click on any Software / Game running on your Windows Computer.
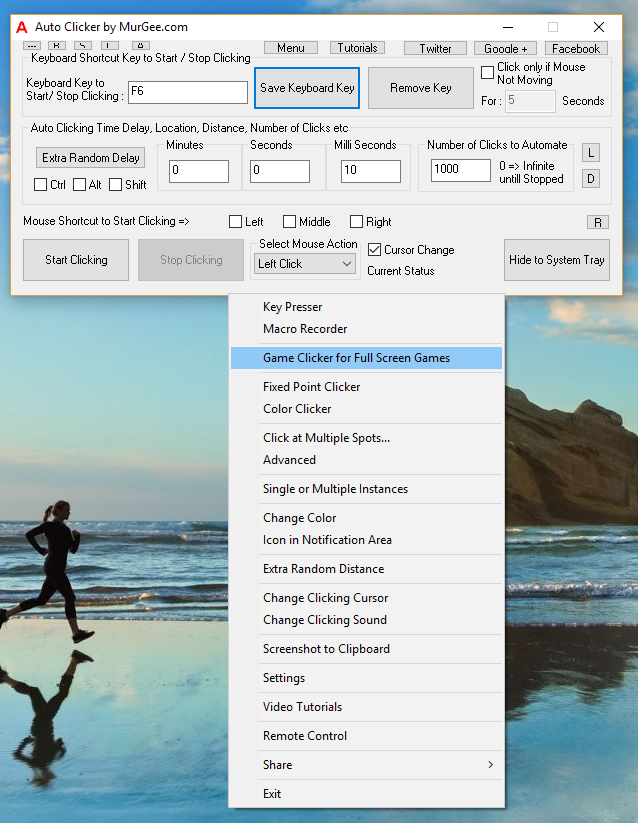
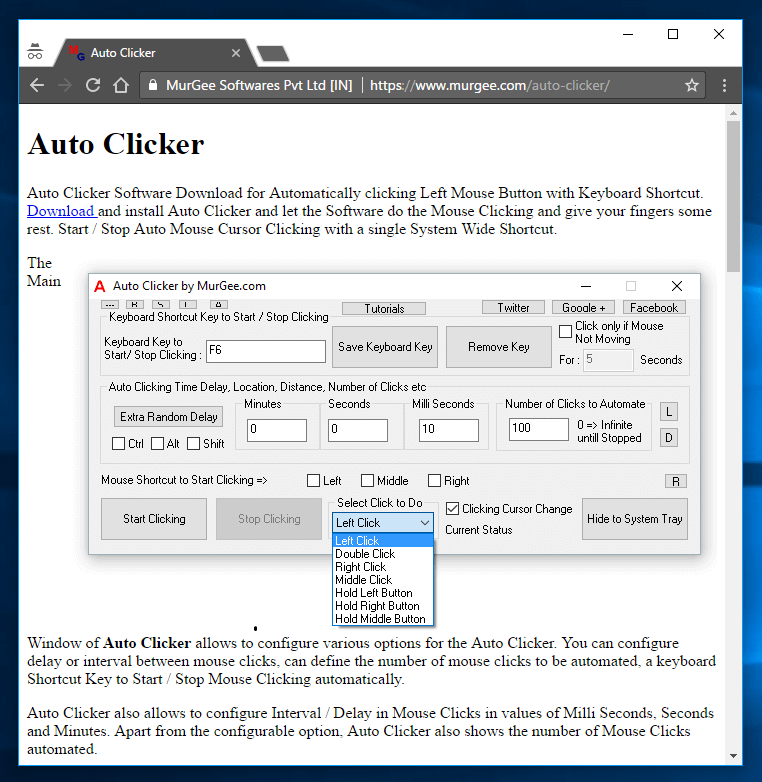
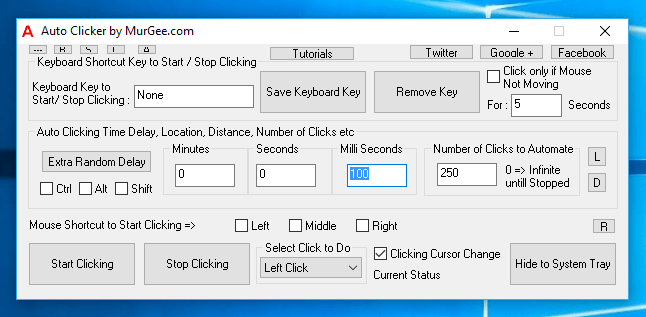
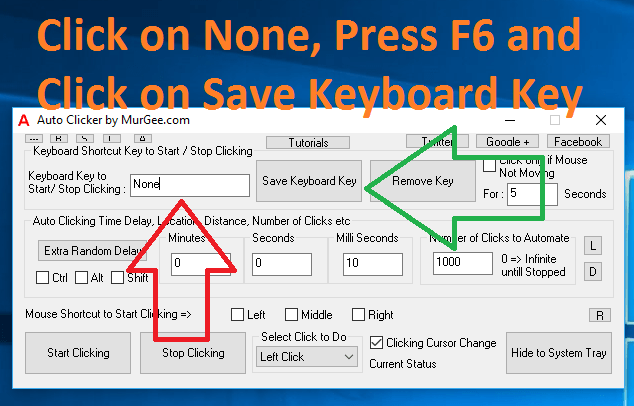
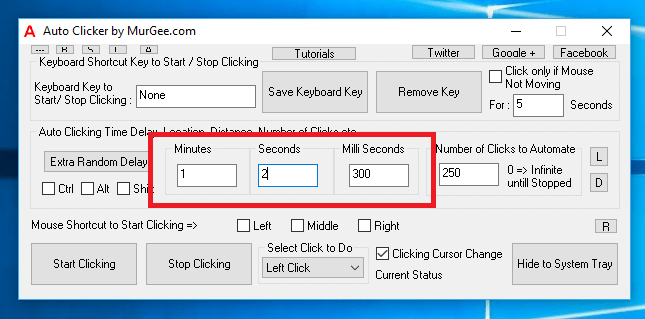
- As displayed in the screenshot above, Click on None and press a Keyboard Key like F6, Ctrl+U, Shift + F8 or any other Hot Key. After pressing the Keyboard Shortcut, Click on the button titled Save Keyboard Key.
- Now Move your Mouse Cursor to any Screen Location where you want to Auto Click with Auto Clicker. The Mouse Cursor can be moved by moving Physical Mouse or by using Pointing Device connected to your Desktop / Laptop Windows Computer.
- Finally Press the Keyboard Shortcut / Hot Key assigned in step 3 above. This will start Automatic Mouse Clicking and your Mouse Cursor will change to a Red Cursor. Once the configured number of Mouse Clicks have been automated, your Mouse Cursor will revert back to original Mouse Cursor.
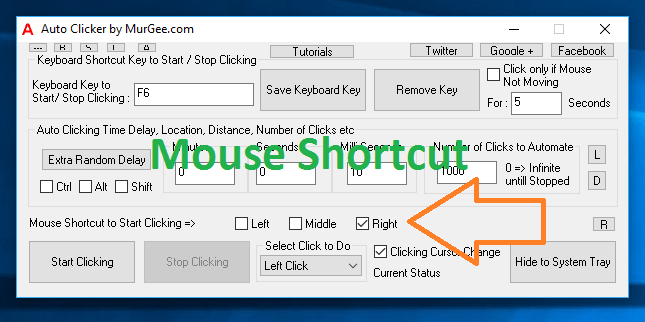
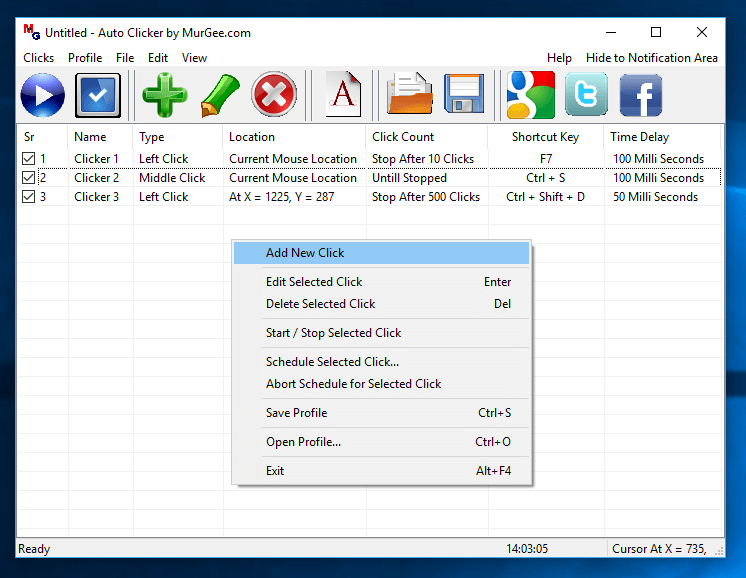
The above steps outlined the procedure to use Auto Clicker in simple and easy to follow steps. Once you start using Auto Clicker, you will really find it easy and fun. Apart from Clicking at current Mouse Cursor Location with a Keyboard Shortcut / Hot Key, you can do many more things. Apart from a Keyboard Shortcut, you can also use Mouse Shortcut to Start / Stop Automatic Mouse Clicking.
Fine Tune Automatic Mouse Clicking Speed
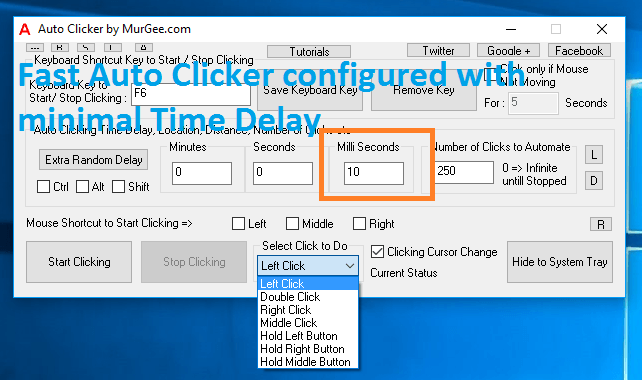
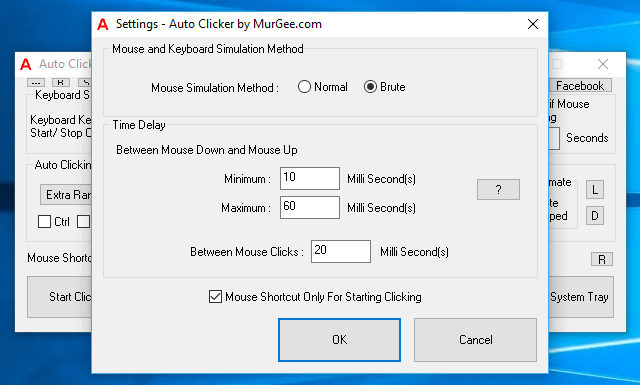
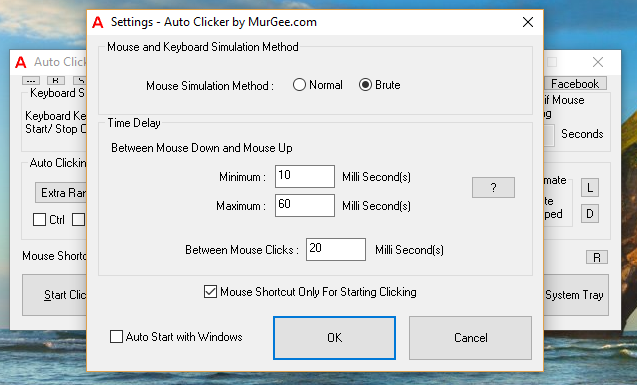
To Control the Mouse Clicking Speed, you can configure the time duration between consecutive Clicks from the Main Screen of the Software. To fine tune the Mouse Clicking Speed, you can configure Time Delay between Mouse Down and Mouse Up from Settings of Auto Clicker as displayed in the screenshot below.
Control Time Duration between Mouse Down and Mouse Up
As displayed in the screenshot above, you can also configure Random Time Delay between Automated Mouse Down and Mouse Up actions performed by Auto Clicker. You can also use Random Time Interval between Mouse Down and Mouse Up. In order to configure Random Time delay between consecutive Clicks, read the Random Delay in Automated Mouse Clicking post of this blog and perform Automated Mouse Click as is normally done by Clicking with hand and physical Mouse.
Apart from Automated Left Clicks, you can also automate Right Mouse Click, Middle Mouse Click and even Double Mouse Click. The Settings screen also allows you to configure time delay between 2 Mouse Clicks of a single Double Mouse Click. You can also control whether the Auto Clicker starts automatically with Windows as a Notification Icon or not from the Settings Screen.
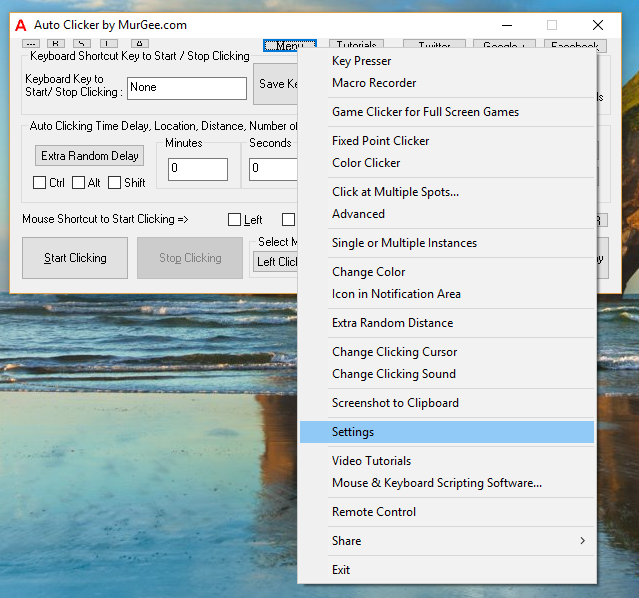
Auto Clicker Settings
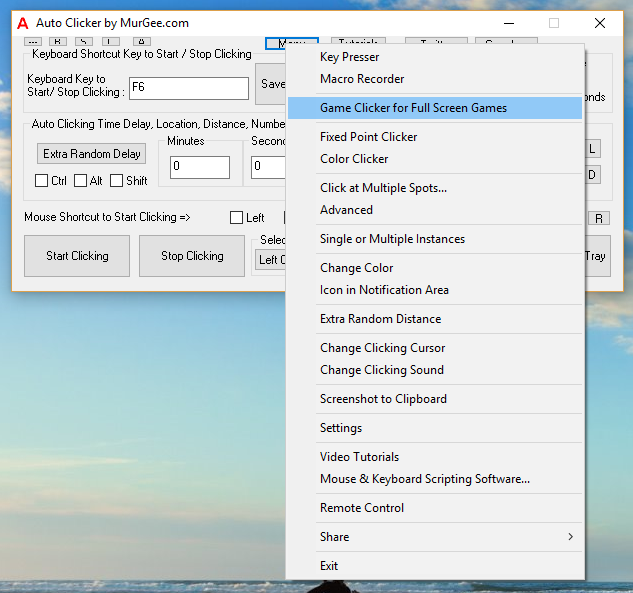
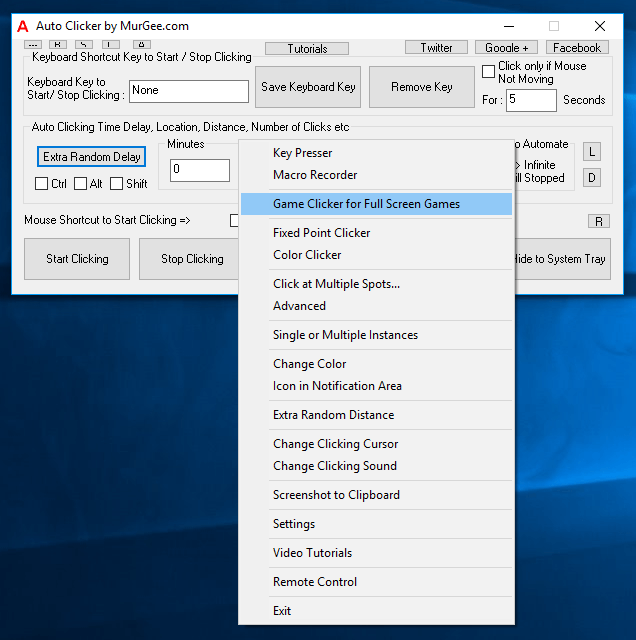
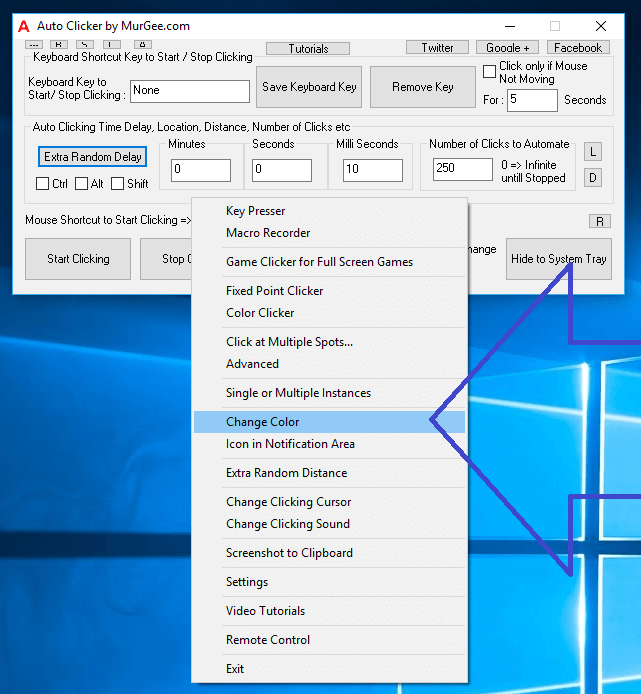
The above Screenshot displays Menu which can be used to launch Auto Clicker Settings Screen. Note that there is lots of functionality in Auto Clicker making it a really handy and useful tool to do Automated Mouse Clicking. Whether you want to Auto Click in an Online Game, Desktop Application, Multiplayer Game or on anything else running on your Windows Computer. Once you have followed the steps outlined in the paragraph How to use Auto Clicker, using other features of this Mouse Automation Tool should be really handy and quick to learn. Feel free to explore other features of Auto Clicker which does have inbuilt Video Tutorials providing easy and quick way to learn the features of Auto Clicker.

